
In 2023, WordPress disabled the ability to automatically share to Twitter when publishing a post due to changes in pricing for the API for developers. Many websites that are hosted on WordPress and have Twitter connected were unable to do so and had to share manually. Some websites, including my own, got creative and brought in IFTTT to automate their posting instead.
The problem is due to technical limitations, IFTTT would only connect to WordPress sites that have multifactor authentication disabled. All security in the world means nothing, and no site owner wants to be hacked. There is a way around this problem without disabling multifactor authentication, and I have some instructions below:
What You’ll Need
Before you begin, you will need the following:
- IFTTT account
- WordPress Website
- A device to authenticate yourself.
Head to Your WordPress Profile

To access your profile settings, click your username or icon in the upper right-hand corner of any WordPress page.

Once there, you will be prompted to enter the verification code from your authenticator app, or via a phone call or text message from your phone.
Create a Social Login Password

After you authenticate, go down to Security on the left-hand corner of the page and click Two-Step Authentication.

Once there, scroll down to the bottom of the page, and you’ll find a box for Application passwords. This allows IFTTT to bypass the multi-factor authentication and connect directly without an additional verification. Click Add new application password, and you will be prompted to enter a name for any site to use your blog. In this case, type “IFTTT” as the name. Once you’re finished, it will generate an application password. Keep this tab open so you can copy the password to IFTTT.
Connect Your Site
You will next open IFTTT and head to its WordPress page. If you want to go there faster, you can head to ifttt.com/wordpress. Once there, click Connect. You will be prompted to log in, and make sure you have your device ready because you will need to authenticate again.

Once you connect, click Add new account.
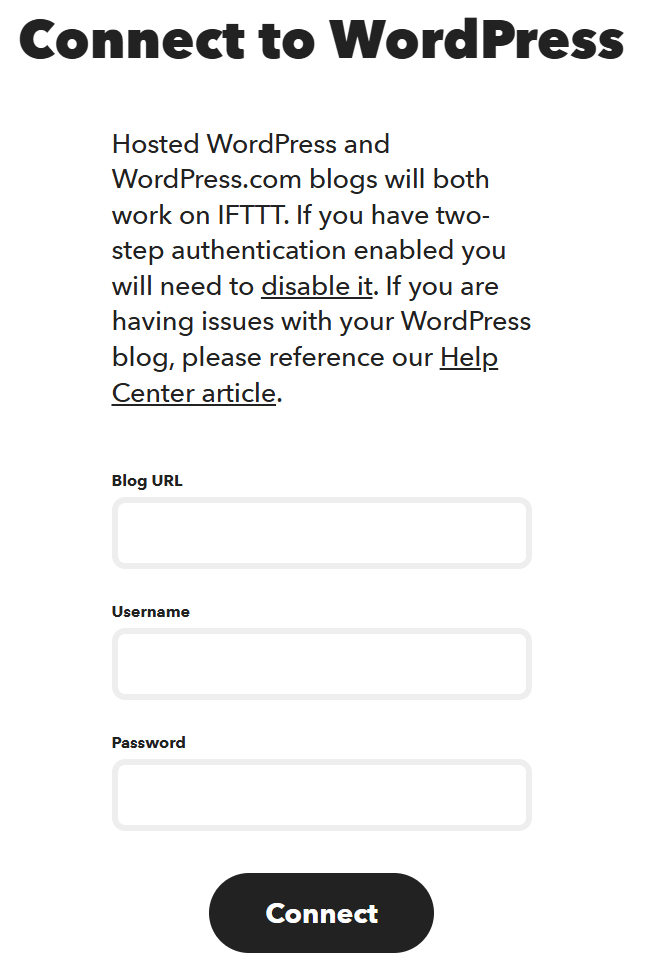
Once there, you will be prompted to enter the URL of your WordPress site, followed by your username and the application password. You should remember that you cannot use your regular password to authenticate, only the application password generated by WordPress. And don’t worry about the thing above asking you to disable multifactor authentication. You’ve now found a workaround for it. If you closed the WordPress tab, you may need to rewind the tutorial and try some of the steps again.
Done
Once you click Connect and if it succeeds, you are done. You have successfully connected your blog all without disabling multifactor authentication. You can then start using whatever applets you want.
Discover more from Drillimation Systems
Subscribe to get the latest posts sent to your email.

Very helpful tip! Thx 😎
LikeLiked by 1 person
I have given up on IFTTT but maybe must try it again.
LikeLiked by 1 person
Awesome
LikeLike
Good information 👍
LikeLiked by 2 people